
Johns Manville Radiant Barrier Installation: The Hayward Owner’s Guide
Johns Manville radiant barrier installation in Hayward typically runs $0.75 to $1.50 per square foot fully installed, with most attics landing between $900 and $2,400 total depending on roof pitch and attic access. We stock Johns Manville-compatible radiant barrier on our trucks and can usually handle the job same-week, often same-day when you catch us between jobs. Most homeowners discover they need this work the hard way: they climb up in July and the attic feels like a furnace, the upstairs won’t cool below 80, or they spot drooping, torn, or dusty foil hanging loose from the rafters.
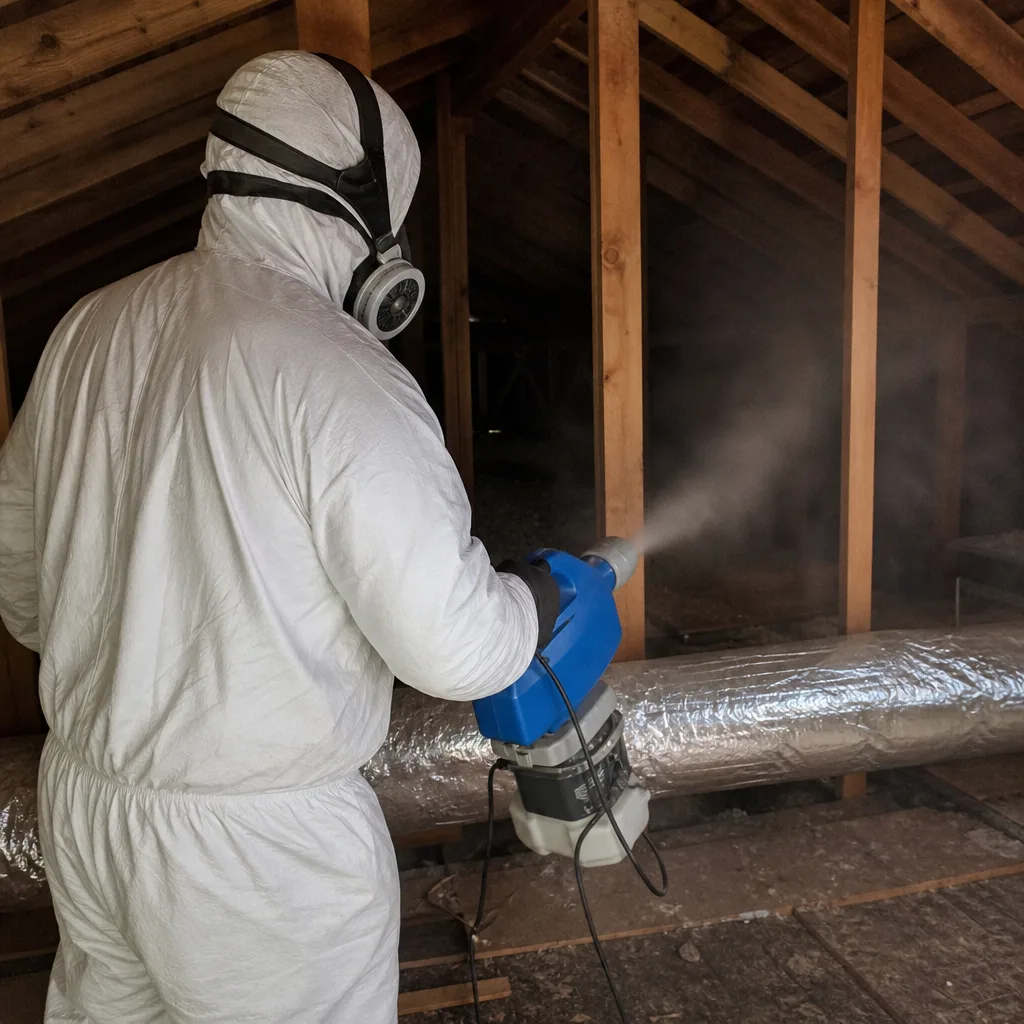
Here’s the short version of how radiant barrier works in a Hayward climate. The foil faces the attic air space and reflects radiant heat back out instead of letting your insulation soak it up. When it’s installed wrong or the material degrades, you’re basically paying to air-condition a hot box. We see it every summer out here, especially in the older ranch homes between Mission Boulevard and the BART tracks.
Which Johns Manville Models This Applies To
Johns Manville doesn’t make a dozen different radiant barrier product lines like they do with batt insulation. The main product we install is their reflective foil designed for roof decking and rafter applications, typically sold in 4-foot-wide rolls of 125 or 500 square feet. That’s the stuff you’ll see in new construction throughout the East Bay. There’s also a lighter residential grade that goes under floor joists in raised foundations, which plenty of Hayward homes still have from the 1950s and 60s build-outs.
Here’s the compatibility gotcha most people don’t know until they’re already in the attic: Johns Manville radiant barrier needs an air gap of at least 3/4 inch to work. If the foil was installed flat against the roof deck with no spacing, or if blown-in insulation has crept up and touched it, the reflective surface is doing almost nothing. We’ve pulled back rolls in Hayward attics where the barrier looked fine but was completely buried under cellulose. The customer had been living with it that way for a decade.
On the OEM versus aftermarket question: Johnson Manville’s foil is solid, but it’s not magic. A properly installed comparable reflective barrier, including the Reflectix product line we also carry, performs essentially the same once the emissivity rating is in the right range. What matters more than brand is the install: staples every 6 to 8 inches, seams kept tight, and the air gap maintained. That’s where most DIY jobs fail and where our crew spends half our time fixing someone else’s work.
Signs Your Johns Manville Radiant Barrier Installation Is Failing
- Upstairs rooms won’t hold temperature after sunset. A working radiant barrier keeps heat from radiating into the attic building material. When it fails, the attic becomes a heat sink that keeps pumping warmth into your living space hours after sundown. We hear this most from folks in the hills above Hayward where houses get direct afternoon sun.
- Foil is visibly sagging, torn, or peeling from the rafters. Staple failure and material degradation happen over time, particularly in attics with high temperature swings. Hayward’s summer-to-winter cycle isn’t extreme, but 20 years of expansion and contraction still loosens staples and splits foil at the seams.
- Dust or debris coating the reflective surface. Radiant barrier only works when the surface stays shiny. A thick layer of dust, blown-in insulation, or rodent droppings cuts reflectivity dramatically. If you’re already up there, take a look: dull silver means dead barrier.
- Your AC runs constantly but the upstairs stays hot. This is the symptom that finally gets people to call us. The HVAC system is working fine, the insulation levels look okay, but the radiant barrier isn’t doing its job, so the cooling cycle never catches up during Hayward’s heat waves.
- Rising cooling bills despite no changes to your system or habits. PG&E rates climb every year, but a failed radiant barrier makes the increase worse. When the attic can’t reflect heat, your AC works harder than it should. We’ve seen summer bills drop 15 to 20 percent after replacing degraded barrier.
Replacement Cost & What’s Included
For a standard Hayward home, installed replacement costs break down like this:
- Radiant barrier material: $0.20 to $0.45 per square foot depending on Johns Manville grade or comparable Reflectix equivalent.
- Labor with staple-up installation: $0.50 to $0.90 per square foot for standard attic access and roof pitch.
- Attic prep work (minor repairs, cleaning affected sections): $150 to $400 when existing barrier needs removal or surface cleaning first.
- Full attic replacement on a 1,500 sq ft home: usually lands between $1,100 and $1,900 out the door.
What drives the price up is attic access. If your Hayward home has a tight scuttle hole, low pitch, or a lot of cross-bracing, the labor time goes up. If the old barrier is buried under insulation, we have to address that first, which adds prep time. Every quote we give line-items the material and labor separately, so there’s no mystery about what you’re paying for. And since Walt’s Insulation has been installing radiant barrier since we opened in 2000, the work is covered by our Done Right Promise: if it’s not installed correctly, we fix it, for life. No asterisk, no runaround.
If you’ve got a written estimate from another Hayward area contractor, bring it to us. We’ll give you a free second opinion, and there’s no trip charge for homes inside our service county. Seniors and veterans get 10% off, always.
DIY or Call Us?
Radiant barrier installation is not dangerous in the way garage door springs or electric panels are. You’re not going to hurt yourself with foil and a staple gun. What you are going to do is spend a weekend in a 120-degree Hayward attic, sweat through everything you own, and likely still get the air gap wrong. The most common DIY mistake we see is stapling the barrier directly to the roof deck with no spacing, which gives you maybe 20 percent of the performance you paid for.
That said, if you’re physically comfortable in tight spaces and want to check your existing barrier yourself, here’s what to look for: the foil should face an air space, not touch insulation. The surface should still be shiny. The seams should be tight and the staples still holding. If any of those fail, the barrier isn’t working regardless of how new it looks. When you want it done right the first time, call Walt’s Insulation at (510) 871-9022. We’ll measure, we’ll give you a straight number, and we’ll be done before the weekend gets hot.
FAQs
In this climate, you should expect 15 to 20 years of useful life from properly installed Johns Manville radiant barrier before the foil dulls or staples loosen enough to matter. Coastal fog and salt air can shorten that slightly for homes closer to the Bay, while interior Hayward neighborhoods see aging mainly from heat cycling. Most failures we see are from poor installation or insulation touching the foil, not from the material itself wearing out prematurely.
Yes, section repair is possible and often makes sense if the damage is limited to a small area, a fallen staple run, or a tear from a contractor working in the attic. Whole-roll replacement becomes the right call when the foil is dusty, dull, or sagging across most of the attic, or when the barrier was installed without proper air gap in the first place. Call us at (510) 871-9022 and we’ll tell you which situation you have, straight.
A full attic installation on a typical Hayward home takes one working day. That includes prep, staple-up, seam taping, and a final check that every run has the proper air gap. Attics with difficult access or existing barrier that first needs removal can stretch into a second day, but we’ll tell you that before we start, not after.
Yes. We keep Johns Manville radiant barrier rolls and Reflectix equivalent material in stock at our Hayward service base, which means we don’t have to order and wait on a distributor when you call. Most installations can be scheduled within the same week, and emergencies during heat waves get priority scheduling whenever possible. Call (510) 871-9022 and a live person answers, day or night.
Written by Walt Brenner, Owner, Walt’s Insulation at Walt’s Insulation, serving Hayward and nearby areas.